


Towards the start of the Fall 2025 semester, I decided that I wanted to work on something that would test my CAD skills along with my electrical engineering skills. Inspired by BPS.space, Garrett R, Jacob Thornhill, and various others, I decided I wanted to build a Thrust Vector Control (TVC) Model Rocket.
A Thrust Vector Controlled rocket is a rocket that uses a gimbaled motor mount to achieve stability. This is different from the traditional method of aerodynamic stability which relies on fins near the base of the rocket to provide stability. In model rocketry, this is useful because it allows the vehicle to remain upright while flying at very low speeds.
Rather than jumping straight into building an entire rocket, I decided to take it slow by focusing on only the motor mount. This modular approach allowed me to rapidly iterate through different 3D-printed versions, without the time and material commitment of rebuilding the entire rocket after every single tweak.
I started by creating a small list of goals that I had for the mount.
- Fit within a 4-inch tube
- ±15° range of motion
- Use MG995 servos (I already used these in a previous project, and I had 2 extra)
- Fully 3D-printed
- Get it to work
Goals for a Thrust Vector Control Mount
Some of these goals were more essential than others, and I remained open to adjusting them as I encountered challenges to the design. The only one that wasn't up for negotiation was "get it to work."
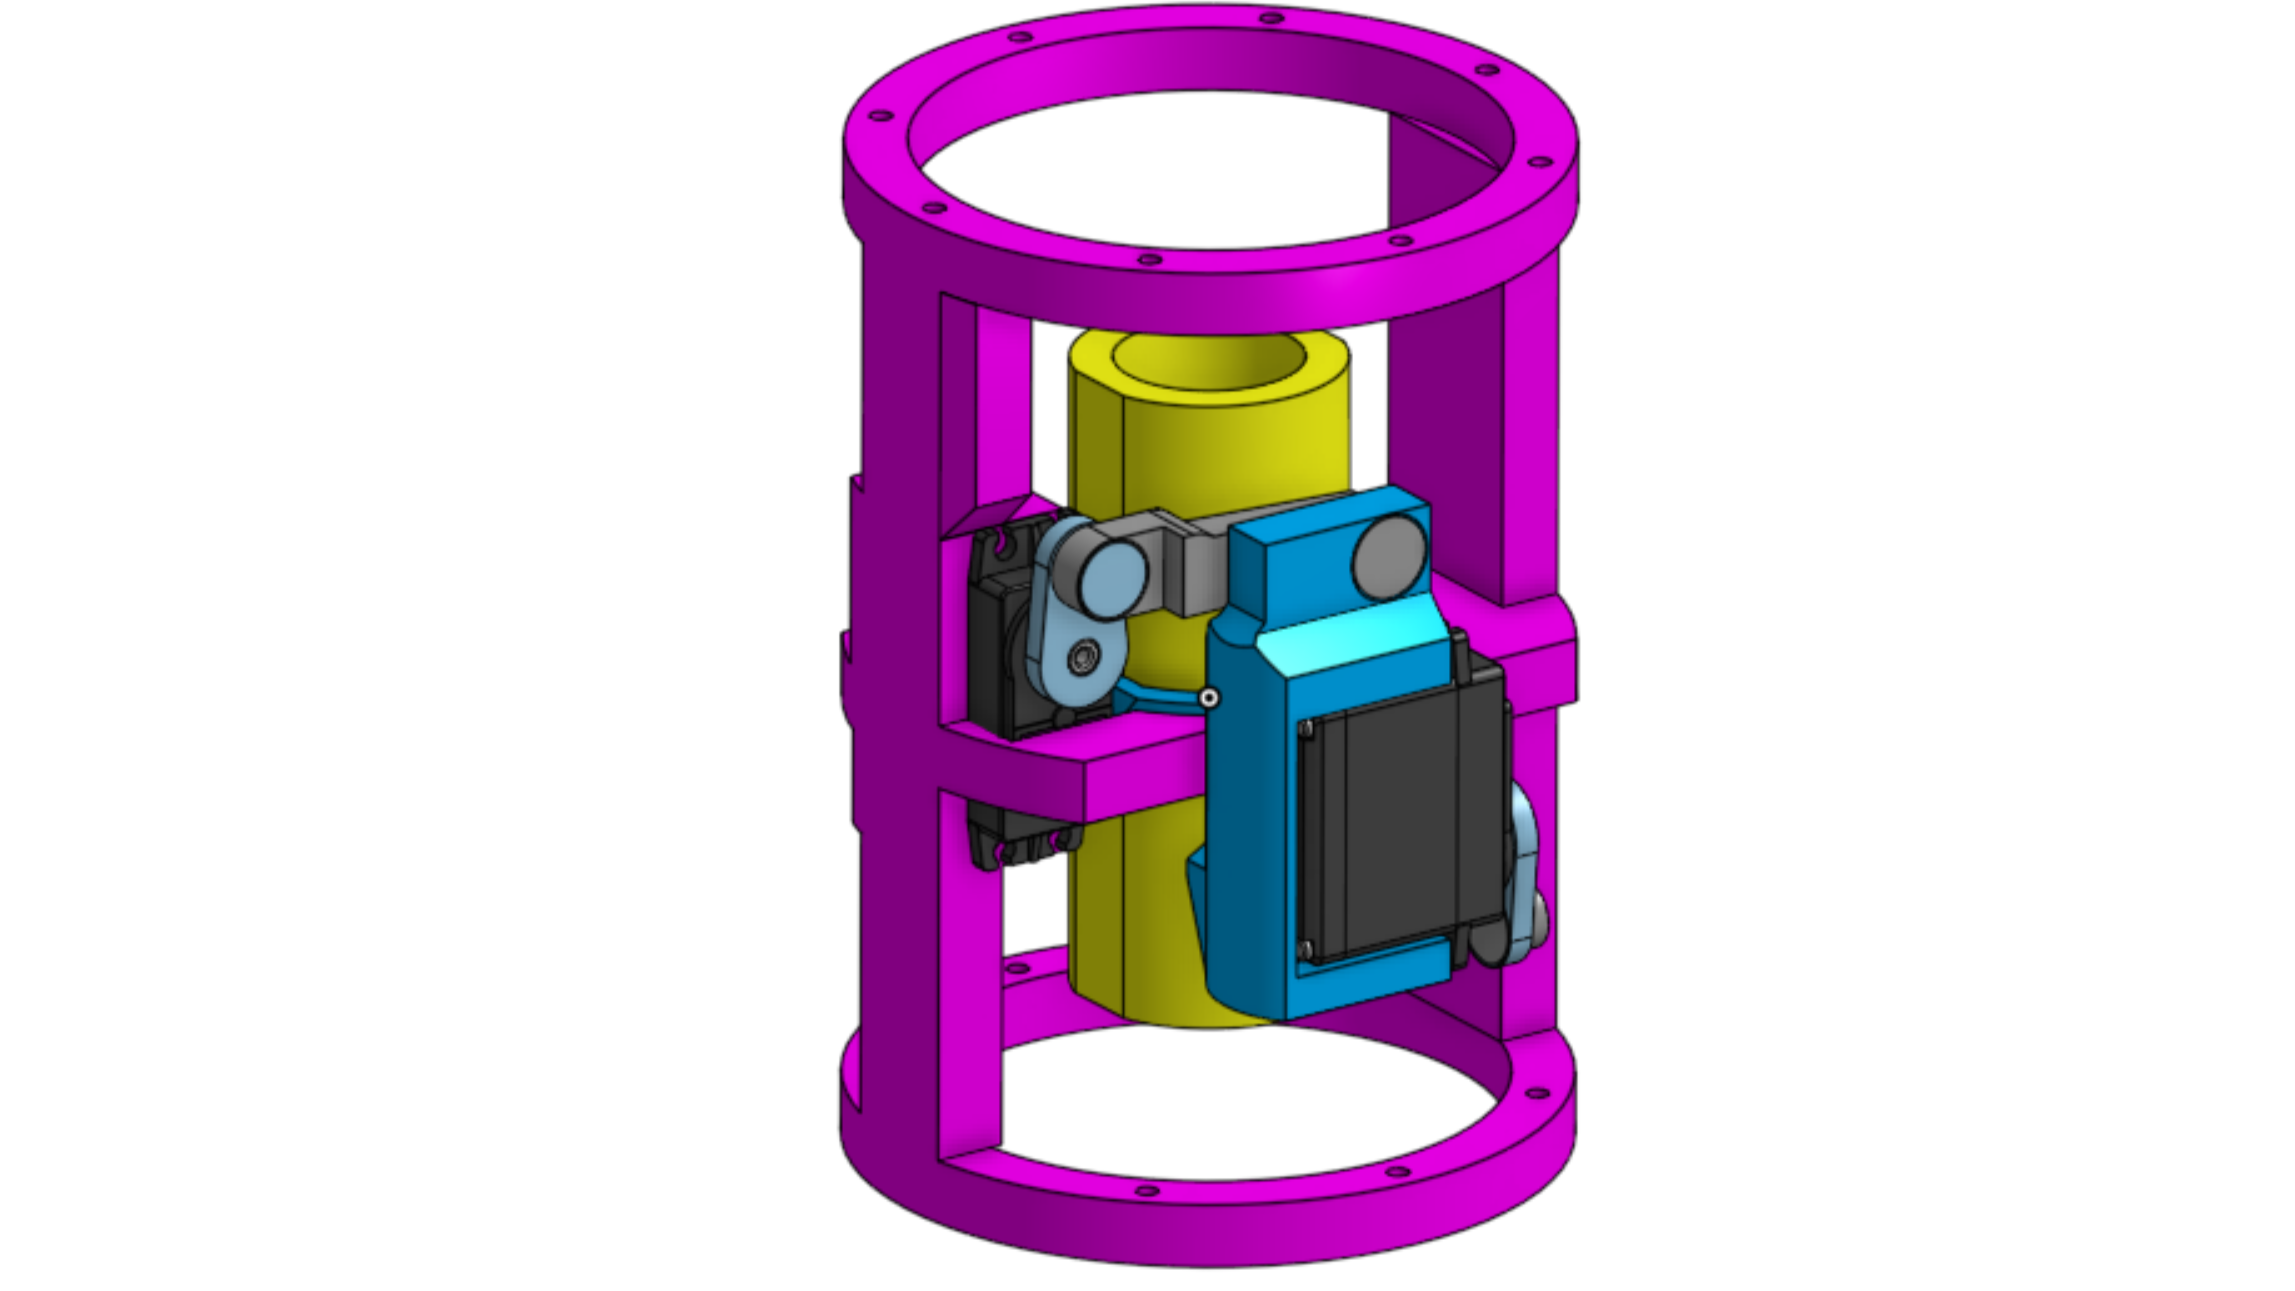
With my goals for the project defined, I hopped straight into the Computer Aided Design (CAD) work using Onshape. Within about a week, I had a rough mockup assembly that worked in the perfect world of CAD. Unfortunately but understandably, things didn't go as well once I began printing out the pieces.
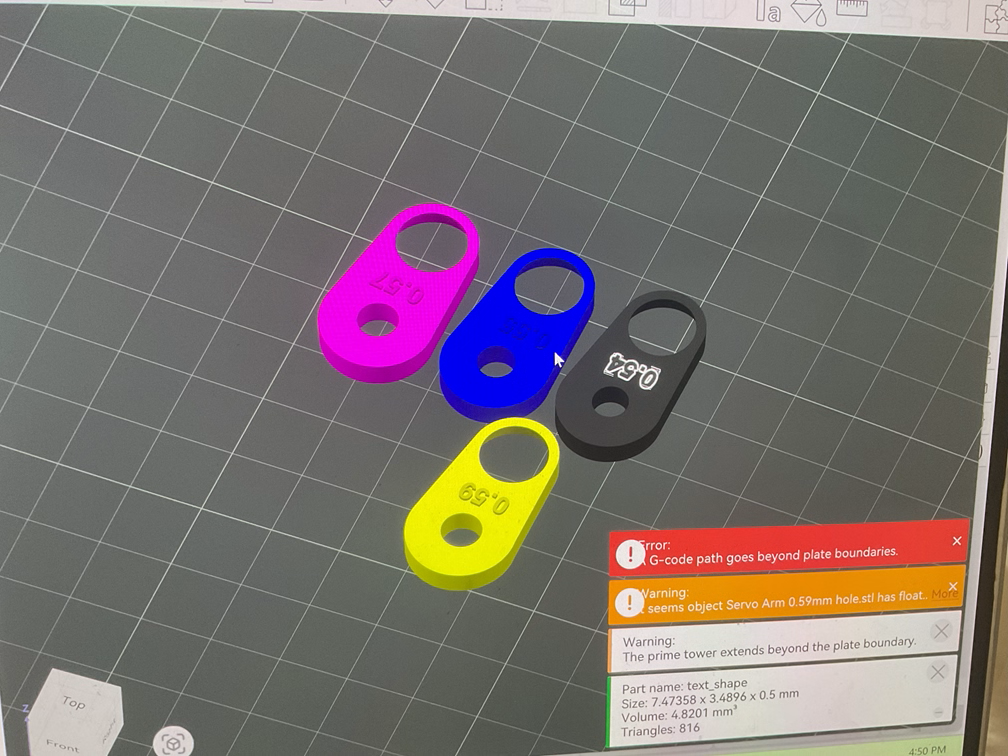
Some of the parts were too small, while others were too loose. The 3D-printed plastic hinges I had designed were too small, and broke with just a small amount of mechanical stress. The 3D-printed servo horns wouldn't fit on the mount. It was a bit of a mess. Slowly, I went through each mistake. I even printed a couple of test prints in order to figure out what types of tolerances would be needed.
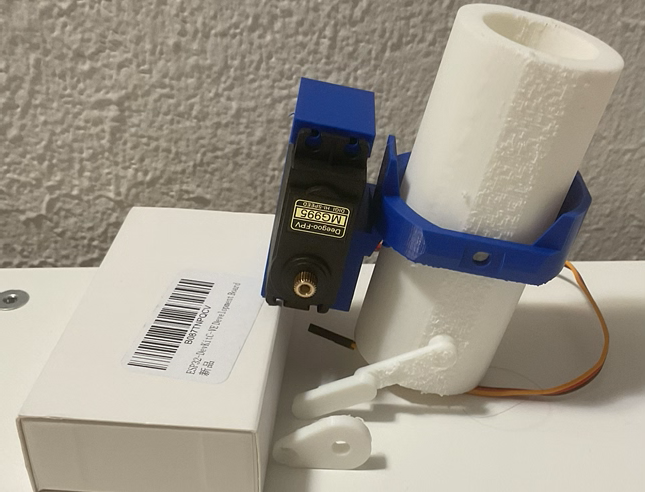
Eventually, I was able to get everything to fit together well enough to hook the motor mount up to a single servo motor. This was super exciting as I got to see the theoretical motor gimbal for the first time.
Riding the success of the last test, I adjusted the outer ring so that it would be able to sit flat on a table. I also added some screw holes so that I can securely attach the mount to a test stand. With this new print, I was able to wire up the motor mount to an ESP32. The ESP32 enabled me to control the direction of the motor vector with a PlayStation 3 controller. While this was a cool demo to show my friends, I don't have the reflexes to actually steer. So I'm going to leave this project here for now, while I work on a method of stabilization using a microcontroller.

- Test fire this iteration of the mount
- Figure out how to balance the rocket using an Inertial Measurement Unit (IMU)
- Design an alternative to the loose plastic hinges